Adding indexing data is part of the process of capturing documents into GlobalSearch, so that you can easily find your documents later. You can enter as little or as much indexing data as you need using the Index Viewer ( and in some cases the indexing data will be entered for you automatically). When you drag, scan, or import files into an Archive the Index Viewer appears. From here you can enter, edit, or delete your Index Field values. With GlobalSearch you do not have to type in the same information again and again when you index batches of similar documents into an Archive; the Index Viewer will retain your indexing data until you select another Archive. Indexing as you import your documents can go quickly and accurately using KeyFree Indexing or (or use Data XChange, if a source was built on the selected Archive).
View
...
Documents While Indexing
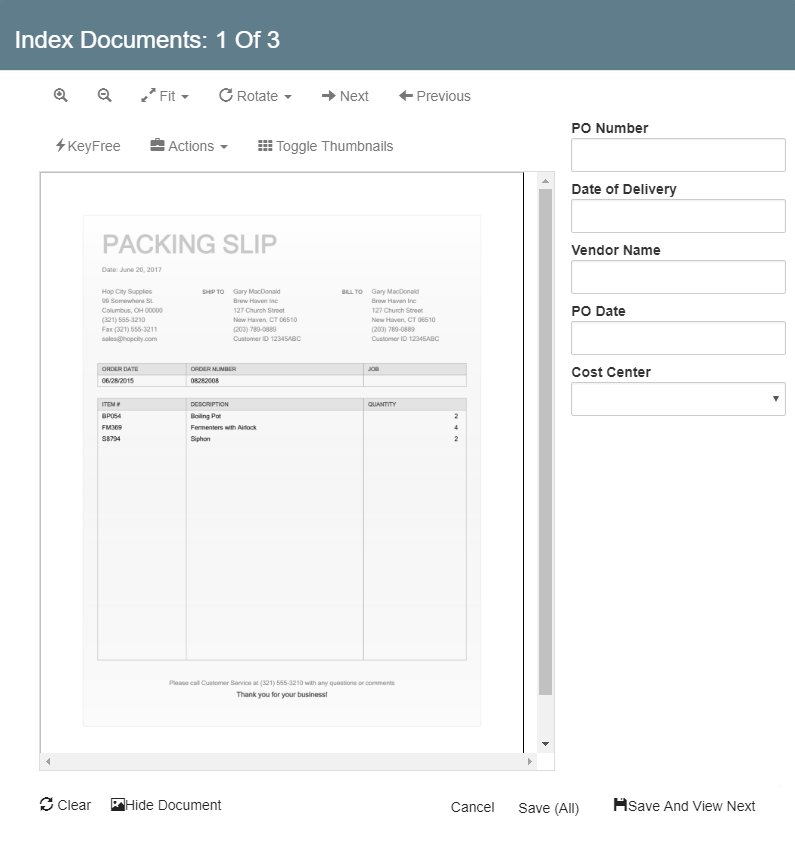
When using the Index Viewer, you can choose to show the document image or not. The advantage to showing the document is that you can reference it when typing in indexing data and you can use the KeyFree Indexing point-and-click feature to automatically add data found on the page. Because of this, the document is documents are shown be default. If it is not already enabled, click View Document in the Index Viewer to show the document. While the document is displayed, the Viewer toolbar is available to move around or zoom on a the image as needed.
Hide
...
Documents While Indexing
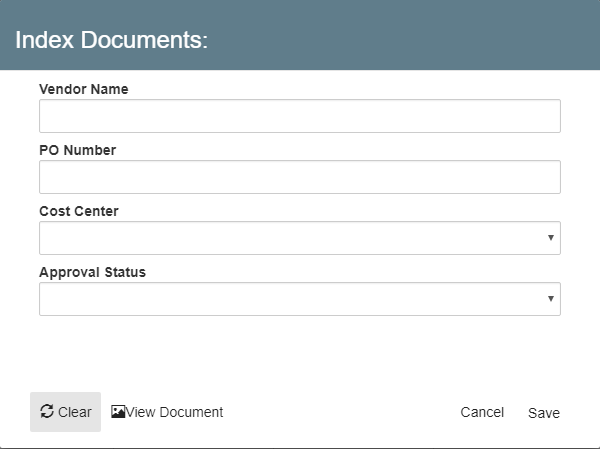
You can change the default to showing document in hide documents using the User Settings; just disable Automatically view document when indexing on the General tab. Do . As you are indexing, click Hide Document if you wish to close the Document View Area. Do this when you do not need to refer to reference documents while indexing, as the dialog will be more compact and load somewhat faster. Note that the Index Viewer defaults to not showing the document Hide Document when you are entering ones whose file type is not supported for display in the Viewer (like audio files).
As you are indexing, click Hide Document if you wish to close the Document View Area. Note that if you are importing documents that are not supported for display in the Viewer (such as audio or video files), Hide Document will be selected by default.
Import Scan - Capture & Index option
1.The Archive More Option (3 dots) icon also has a Import Scan option. This option allows a user to scan a document from a local TWAIN device directly into an Archive (this is something we are unable to do in the desktop client, remember, we were able to scan pages directly into an already existing database document but we were not able to scan a new document directly into an Archive)
1.In order for a user to use this option, they must go to the web client and download the GlobalSearch Extension Manager and enable the Scan extension option (we will come back to this when we go over GlobalSearch Extension later in the class)
Index a Single Document
...
...
To use a document image while indexing, do the following:
...
Index Documents
- To add or update indexing data while importing, enter data directly into Index Fields or, with a document open the Document View Area, click KeyFree to populate Fields. If you drag, scan, or import other files without switching Archives, your last-saved indexing data is retained for you. This is useful when importing a batch of documents, such as invoices from the same vendor.
- When indexing multiple documents, enter, edit, or delete indexing data for the first file and then either use the same data for all of the documents or enter different data for each document.
- Click Clear to remove any data in the Index Fields. A document can be saved into GlobalSearch without indexing data , if you will be entering it later in a Field (assuming that no Fields are required for that Archive, those must have data).
Click Save.
If you drag, scan, or import other files without switching Archives, your last-saved indexing data is retained for you.
Edit Multiple Documents
- Enter, edit, or delete indexing data for the first of multiple selected files in the Index Documents interface that appears. Enter data directly or click KeyFree to populate the Fields. Use the toolbar to view the document.
Select View Document to open the Document View Area and its menu.
Select Hide Document to close the Document View Area.
Click Clear to remove any data in the Index Fields.
ClickTo index a single document, click Save. To index multiple documents, either click Save (All) to save all documents with the same indexing data or Save and View
NextNext to index each document separately and proceed to the next file.
.
Note that if you click Cancel instead on a multiple document import, it cancels all subsequent file indexing. Any files that had been previously saved will remain indexedAs you are indexing, click Hide Document if you wish to close the Document View Area. Note that only documents of the type that the Viewer can display will appear. If you are importing documents that are not (such as audio or video files), Hide Document will be selected by default.