Manage Users and Groups
- Former user (Deleted)
- Brian Banet
The Secured Users and Groups panel displays a list of all Users who have been granted access to one or more databases. The icon to the left indicates either a User (![]() ) or a Group of users (
) or a Group of users (). The icon to the right indicates either a Windows user (
![]() ) or a Square 9 User (
) or a Square 9 User (![]() ).
).
Limit Length of Names
Limit the length of the groups you wish to secure in GlobalSearch to 50 characters. GlobalSearch does not support group names of longer than 50 characters.
- To secure a user or group, from the GlobalSearch toolbar, go to the User & Group Administration interface using one of the following methods:
- In the Administration menu, select User Management.
- In the Administration menu, in the vertical Administration menu, select Users & Security and click Go.
- In the Administration menu, select User Management.
- Select one or more users or groups from the list in the Unsecured Users and Groups section.
- Grant access to at least one database.
- In the Confirm Changes panel, click Apply Security. The selected user or group will be moved to the list in the Secured Users and Groups section.
Remember to deselect users after you apply your settings, otherwise you might accidentally change their security settings the next time you click Apply Security.
The Unsecured Users and Groups section displays a list of all Windows users and groups and all Square 9 Users that are available to grant access to one or more databases. Only when a user has no database permissions do they appear here.
To return a secured user or group permissions to unsecured:
- Select one or more users or groups from the list in the Secured Users and Groups section.
- Click Select None or click on individual permissions and rescind all permissions from the Database Permissions section.
- In the Confirm Changes panel, click Apply Security.
The Unsecured Users and Groups section will update real time as Square 9 users are created. To see newly added Active Directory users, you will need to refresh the browser.
Manage Square 9 User Administration
In addition to Windows Active Directory users and groups, in the GlobalSearch web client you can create Square 9 Users, These are users that are local to the application, requiring no Windows credentials or Windows authentication. This allows you to grant external users with no server or Active Directory account (such as vendors or customers) access to documents in GlobalSearch.
Active Directory Users versus Square 9 Users
Active Directory User or Group | Square 9 User |
|---|---|
Created and deleted in Windows | Created and deleted in GlobalSearch web client |
Can create users and create groups or users | Can only create users |
Can change email and password in Windows | Can change email and password in the web client |
Can set database access in the desktop or web client | Set database access in the web client |
Can set database security in the desktop or web client | Can set database security in the desktop or web client |
Can set Inbox security in the desktop or web client | Can set Inbox security in the desktop or web client |
Can set Archive security in the desktop or web client | Can set Archive security in the desktop or web client |
Can set Search security in the desktop or web client | Can set Search security in the desktop or web client |
Create Square 9 Users
- To create a Square 9 User, in the Users & Groups panel of the Square 9 User Administration section, click the Add (plus sign) button.
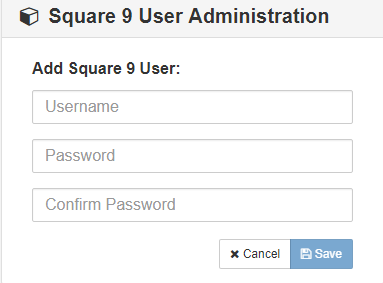
- Enter a username.
- Enter a password and then confirm the password. The Square 9 User password must be six to 18 characters in length.
- Click Save.
Modify Square 9 Users
- To change a Square 9 User’s password, select a user from the Secured Users & Groups list, and in the Square 9 Users Administration section, enter the new password and then confirm it.
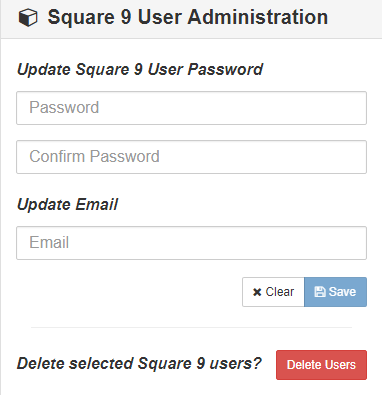
- To add or modify a user email address, enter the address in the Update Email text box. Add an email address to a Square 9 User so that the user can utilize the /wiki/spaces/GSW45/pages/1027801082 Allow Delegation feature.
- Click Save.
Delete Square 9 Users
- To delete a Square 9 User, the user must first be unsecured from all databases. Remove permissions and move the user from Secured Users & Groups list, if necessary.
- Click to select a user or users from the Unsecured Users & Groups list, and in the Square 9 Users Administration section, click Delete Users. Note that this deletes the Square 9 User and removes the user permanently. Any Audit History pertaining to the user will remain.
- Click OK to confirm the deletion.