Individual users can create custom stamps for themselves in the desktop client. Administrators can create stamps globally for all users in the desktop and the web client. The process to create, edit or delete custom stamps is identical whether acting as a local user or as an administrator.
Create Custom Stamps
- To create a Stamp available for all users, in the Administration menu, select Administration.
- In the vertical Administration menu, select System.
- Click the Database toolbar and select a database from the drop-down list.
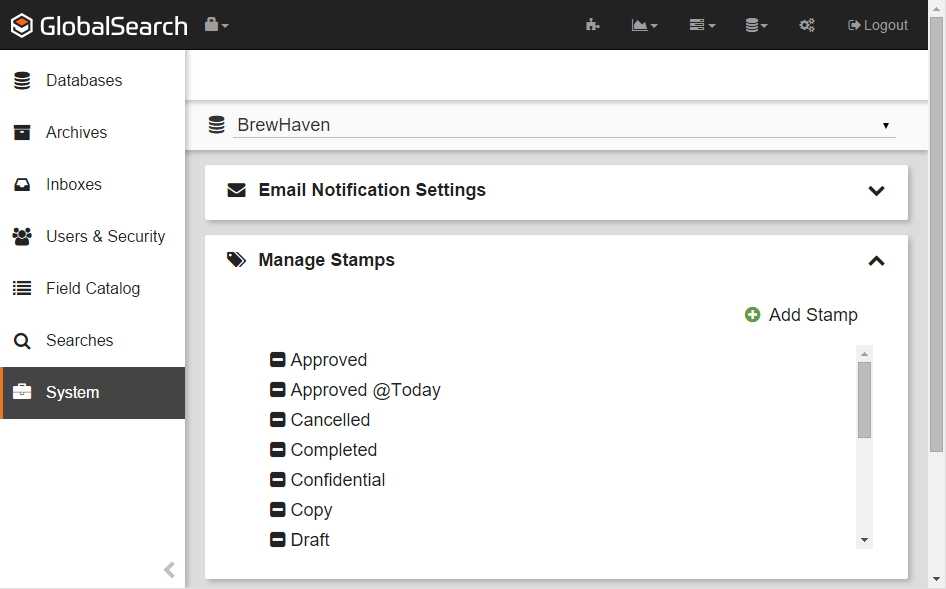
- Click the Expand (down arrow) icon on the Manage Stamps bar.
- Click Add Stamp.
- Enter the text for the Stamp in the New Item text box.
- Optionally, insert variable data into the Stamp text using S9 Notation. Select from the following:
- @Today – Add the current date.
- @User – Add the current user’s username, without any server or domain qualification.
- @Today – Add the current date.
Edit Stamps
- To modify a Stamp, in the Manage Stamps bar in the Administration Screen, select a Stamp and then modify its text.
Delete Stamps
- To delete a Stamp from GlobalSearch, in Manage Stamps on the Administration Screen, click the Delete (-) button next to the selected Stamp.
Behind the Scenes
You can add annotations to any file format, but if you send out an email with annotations, the file will be convert to the PDF file format. Annotations are actually saved in an SSA file in the document’s Archive location, with the same name as the stored document.