Draft. Placeholder.
Move this to the Edit Searches page, when created:
(9/15/17 email):
When you hover over the "remove" icon in the search prompt builder of web admin on an existing search, it will show you the search prompt id.
If you create a new search, then open it to check the ID's, they will show as zero until you refresh the browser.
BB to Cristina: There are a few other areas where ID present in Web Admin. We should probably add these as test cases. Specifically on the search itself, you can get the search ID.
Hunter: It was intended as a bit of a hidden feature to mostly help support and people using the API since they otherwise would have to look in the database or inspect the requests to find that value. ID values also are displayed in a similar fashion when hovering icons on cards for archives, fields, databases, and searches themselves.
The need for refreshing for that data to be available is that its not otherwise present because the admin interface functions on a set of cached data and when new elements are created for things like search conditions we don't get access to those IDs until a new request for the data is made.
CP: Thanks Hunter for the details. I’ll make sure we add steps to our Web Admin TC to verify IDs are displayed for archives, fields, DBs and searches.
BB: It's something we will handle with documentation. Meg, if you have questions on this, see me.
...
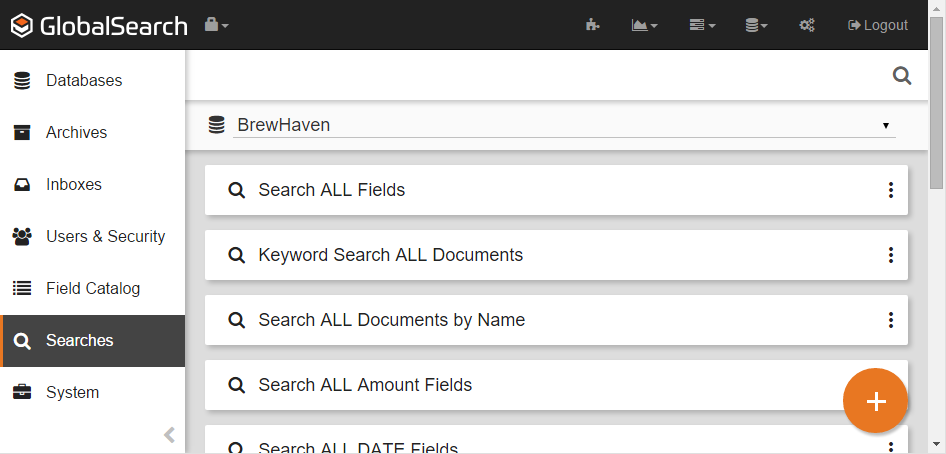
- To create a Search, on the GlobalSearch toolbar, in the Administration menu, select Administration.
- In the vertical Administration menu, select Searches.
- Ensure you have the correct database selected in the Database Select menu, located below the GlobalSearch toolbar, and select a database. A list of the Searches in the database will appear.
- Choose one of the following:
- Click the More Options () icon for the Archive you wish to search and click New Search.
Click the Add () button to assign a Search to the Root Archive.
When you select an Archive for a new Search, all the Fields assigned to that Archive are available in the list. Since the Root Archive has all the Fields in the database available to it, every Field is available in a Root Archive Search list. Creating a Browse Root Archive Search can be a good way to search for documents across many classifications for testing purposes.
- Click the More Options () icon for the Archive you wish to search and click New Search.
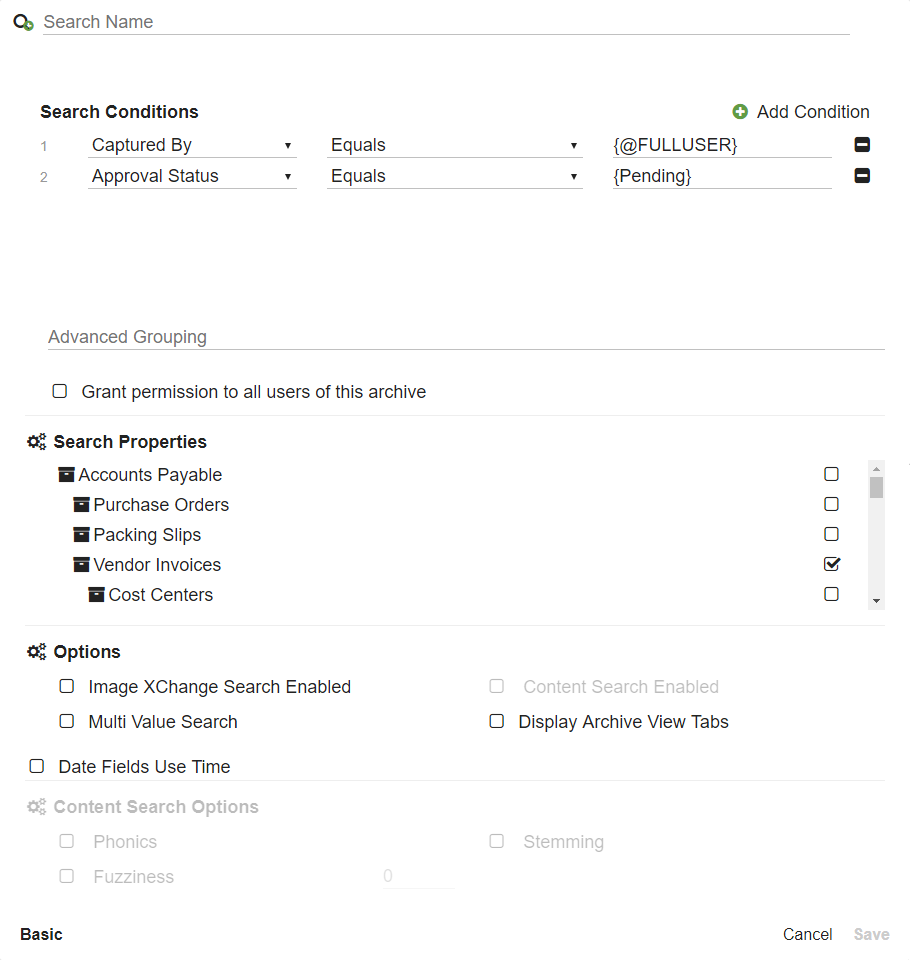
- Enter a name for the new Search in the Search Name box.
- To select one or more Fields for the Search:
- In the Search Conditions group, select an Index Field from the Select a field list.
- Select the operator from the Contains menu. Refer to the Search Operators page for details.
- Use the default or enter a prompt in the Prompt text box. Refer to the Search Prompts page for details.
- To delete a Field, click the Delete (-) button next to the condition that you wish to delete.
- In the Search Conditions group, select an Index Field from the Select a field list.
- Options enter data into Advanced Groupings or select one or more of the checkboxes. Refer to the Advanced Search Options page for details.
- For additional options, click Advanced to expand the Search dialog box and access the enhanced Searched features.
- To let all the users of the Archive user the Search, enable Grant permissions to all users of this Archive.
- Click Save.
| Tip | ||
|---|---|---|
| ||
Search names should clearly indicate the Search’s purpose in a way that makes sense to end users, using their terminology. For example, use Search names to:
|
| Tip | ||
|---|---|---|
| ||
When possible, consider building the multiple criteria in the order that users are accustomed to seeing the Fields. Then, when indexing a document in the Document Viewer, that consistency helps users enter and use indexing data more quickly. |


