...
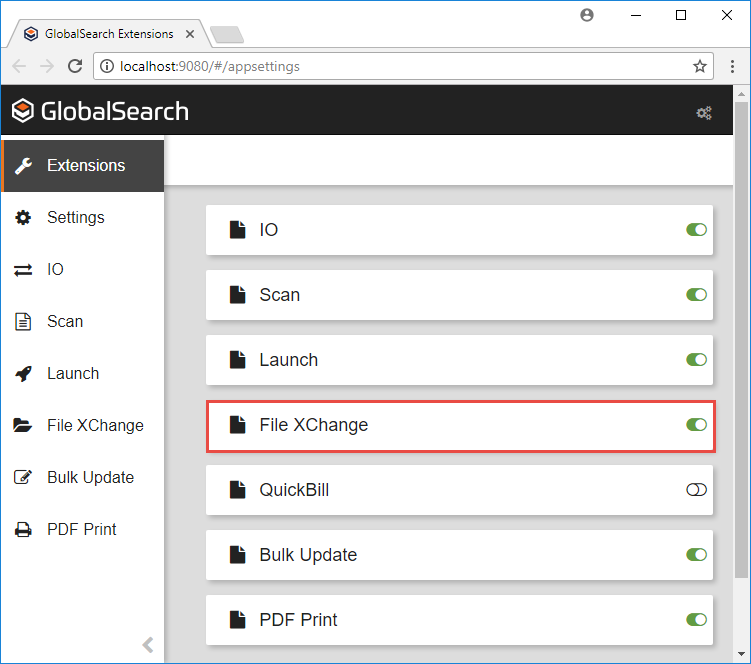
- To install install the File XChange extension, click the File XChange Install toggle switch.
Once extraction is completed, the File XChange Manager will open so that you can configure your File XChange drives before using them for the first time. - To uninstall, click the Install toggle switch again.

Configure File XChange Settings
...
In the vertical Extensions menu, select File XChange. Click the More Options (![]() ) icon and from there, click Settings.
) icon and from there, click Settings.

Configure Drives in the File XChange Manager
...
- Select the drive letter of a currently saved File XChange drive, in the Drives drop-down list.
- To open Windows Explorer® to the location where the File XChange drive is installed, click Show Location.
- Optionally, click the Add (+) button in Drives list to add another drive. Click the Delete (-) button to delete a drive (after checking for any files in the drive).
- To start the currently selected drive, click Start.
If it is not already running, you may start up the drive for immediate use. When start-up is complete, the File XChange icon will appear in your system tray and the drive will be visible in Windows Explorer. - To stop the File XChange drive, click Stop.
Before stopping the drive make sure that all the documents in it have been closed. If a document is open when you stop the drive, it is likely that the application the opened document is in will error and you will be unable to save any further changes to the document. - In the Drive Information group, enter the following:
- Enter the Square 9 API URL used to connect to your GlobalSearch server in the API URL text box. (For example,
http://mydocumentserver/square9api.) - Enter the domain name of your machine in the Domain text box. If your install is not a domain install, then put in the name of your application server. (Your IT department should be able to advise you on this setting.)
- Enter your GlobalSearch credentials in the Username and Password text boxes.
- Select the GlobalSearch database that the File XChange drive will connect to from the Database drop-down list.
- To test the connection with your entered authentication information, click Test Connection. The status of the connection is indicated by the color of the Power (
 ) icon and its corresponding tooltip. A valid combination of URL, Domain, Username, and Password is required to select a database. Indications are as follows:
- Grey – Indicates that the credentials are not yet set. Enter all of the drive information and then click Test Connection.
- Yellow – Indicates that the credentials are in the process of being tested.
- Red – Indicates that the credentials are tested and invalid. Before you can start the drive, enter valid credentials, then click Test Connection again.
- Green – Indicates that the credentials are tested and valid. Select a database and start the drive.
- Grey – Indicates that the credentials are not yet set. Enter all of the drive information and then click Test Connection.
- Enter the Square 9 API URL used to connect to your GlobalSearch server in the API URL text box. (For example,
- Enter the letter to be used to represent the File XChange drive in Windows Explorer in the Drive Letter text box.
A drive letter will be automatically set when the File XChange drive is created, but can be changed at any time. This drive letter must follow Windows conventions like when naming other drives; using a capital letter A through Z. The letter cannot be used for another drive. Enter the drive cache path either by entering the path in the Drive Cache Path text box or clicking the Browse (folder) button and browse to the drive location.
The File XChange drive requires a folder on your machine for the temporary files that are being used in File XChange. This folder should be newly created just for File XChange use.Warning title Possible Data Loss By default, File XChange attempts to clear this cache every time the drive restarts. Using the cache folder for any other application besides File XChange will result in a loss of files.
- For most cases, you will not have to enter or delete any Regex patterns in the File Blacklist box. Only in particular instances should you need to consult your IT department to adjust this setting.
- If you wish to be alerted when files are upload to the drive, enable Show File Upload Alerts. (This is enabled by default.)
- To immediately refresh when a file is imported into a GlobalSearch Archive, enable Auto Refresh on File Import. (This is off by default.)
- To save your drive settings, in the Deployment group, click Export Settings.This will create a
DriveSettings.configfile as a ZIP package. - Click Update Drive to save settings for the current drive and update the File Exchange drive reference in your start-up folder, which is created for each File XChange drive. If you close the dialog box without clicking Update Drive, your settings changes will be lost.

Access Settings in the File XChange Tray Menu
...
- To access the File XChange tray menu, start Extensions and then right-click the Square 9 File XChange (
 ) icon in the Windows system tray and choose from the following options:
- Square 9 File XChange – Click to go to the File XChange drive.
- Version – Displays the currently running version of File XChange.
- Drive Letter – Displays the letter identifying the File XChange drive.
- Settings – Click to open the File XChange Manager.
- Logout – Click to log out and return your user license token.
- Exit – Click to stop the drive.
- Square 9 File XChange – Click to go to the File XChange drive.
- To go to the File XChange drive, double-click on the Square 9 File XChange tray icon.
