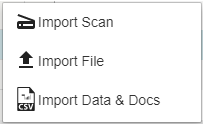
Documents may be scanned directly from your desktop TWAIN scanning device into GlobalSearch using the Import Scan function. Import Scan requires that GlobalSearch Extensions be installed and configured on your desktop, the Scan option has been enabled, and a scanner has been selected. With these requisite steps completed, clicking Import Scan will communicate with the selected TWAIN-compliant scanner and initiate a scan process. Once configured, you can leave these settings until the next time you need to change either your scanner or scanner settings.
...
To scan directly from a locally attached TWAIN device into an Archive, load the document into your scanner feeder.
Warning title Scan Settings Scan settings are variable, depending on the type of scanner being used. GlobalSearch supports capturing documents using any scan settings provided by the specific device you have enabled. Take special care when scanning large documents, or documents that might involve color pages. Generating large files as a result of high page counts, large dimensions (wide-format scans), and color pages can impact overall system performance.
In the Archives Pane, select the Archive into which you wish to scan a document and click the Options (
 ) button to the right of the Archive's name.
Click Import Scan and the pages are scanned.
While scanning, a progress window will be displayed.

When the scanner feeder is empty, you see a Continue Scanning message.
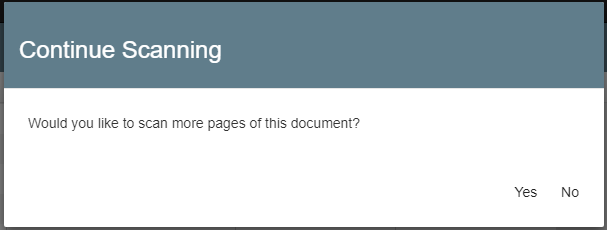
Put more pages into the document feeder and click Yes to add more pages to the current document. Click No to accept the scanned pages as the complete document and move to the next step.
When done scanning, the file it is uploaded and the Index Viewer appears. Enter the Index Field data for the selected file.
If you are scanning to an Archive immediately after importing, dragging, or scanning to the same Archive, the indexing data from that previous import, drag, or scan operation appears in the Index Fields.
By default, the document displays, in which case you can use v5 KeyFree Indexing to automatically add indexing data to your Fields.
Click Hide Document to close the Document View Area, while still allowing you to index the document and save it. If documents are not supported for viewing, the Document View Area will be hidden by default.
Click Save to save the document with any associated indexing data. The document and data are saved, the indexing interface is closed, and you are returned to the main interface, where you can continue working with documents.
| Tip | ||
|---|---|---|
| ||
The recommended scanning resolution for documents scanned into the system is 300dpi300 dpi. It is also recommended that for basic bitonal images, that you use the black and white setting as compared to gray scale or color. This will result in a much smaller file size and improve the overall quality of the user experience. |
...